916-783-2907
E-Mail deb@dragonflyintl.com
 |
Dragonfly International©
916-783-2907 E-Mail deb@dragonflyintl.com |
|---|
Straw Hat
|
|

Hat
Instructions
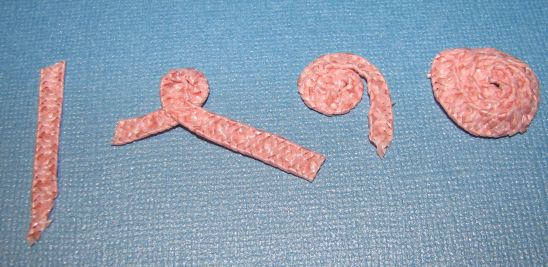
The hat straw has a string running down each side of it. When gently pulled it will help you caress your hat into shape. This string has a different texture then the hat straw. Your coil should look like this. If it has a rick rack look you pulled the wrong string.
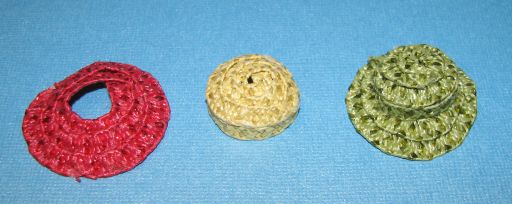
A hat has three
sections: the crown, center section and brim.
Creating the Crown Section:


Creating the Brim:


Assembling
your Hat:
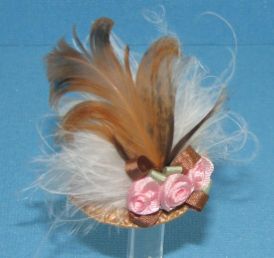
Decorating a Feathered Hat
1. With your completed hat still on the Styrofoam ball with a toothpick
handle. pin the hat in place with the front facing you. You are going to be
gluing directly onto the hat, so make sure that your pins are not where you
will be placing decoration/glue.
2. Run a ribbon band around the rise section of the hat before decorating.
Curl your feathers by taking a pair
of scissors and "shear" them along the back side. This is the same
technique you use at Christmas time to curl ribbon. Cut the feathers to the
height you desire for your hat (cutting off the bases not the plumed tops).
3. Using tweezers, dip the new base of the fluffy feather in tacky glue
and then place it on your hat in the desired position. Press down slightly on
the feather base with your finger to make sure the glue is adhered to the hat
form. Tame your feathers by using a
small amount of glue on your fingers and gently smooth some of the fly away
feathers around the sides of the hat.
Now glue a decorative curled feather over the fluffy base.
4. Cut a 2 sections of ribbon about 2” and make a large loop on both ends Glue these onto the base of the feathers in
an x pattern.
5. Find your roses and if they have a stiff "base" coming out from
the bottom of the bud, cut that base off. Be careful not to cut too close to
the bud, it might unravel if you do so.
6. Take your tweezers and holding the rose top, dip the base (now flat and
small) into the glue and then place on your hat in the desired position. Repeat
with more roses.
Essentially what you are doing is adding layer upon layer until you have a
finished hat, you can add as much or as little as you like - your hats
will always turn out different and be unique, even if you use the same
ingredients.
Enjoy!

